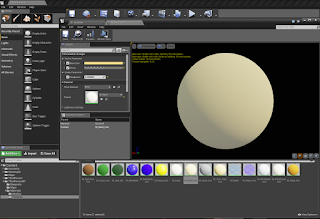
The first thing I started with was the simple cube we made in the tutorial. We beveled the edges and smoothed them to make them look nicer.
Next, I brought my cube into UE4 and started making the first material: a simple sand material. I used this material to build (most of) the other ones!
Since I was going for a natural scene, the materials I used tended to be rougher, except with the leaves and water. The water I tried to do differently by using a translucent material, which didn't quite behave the way I wanted to! I hope we go over opacity at some point, because I would have loved to make more realistic water!
The first thing I built was the basic sand bank. I knew I wanted a shelf so that the player could go in the water, so I made my little beach ridge.
Next, I added that water material. It looked kind of weird, but I went with it. I also made sure to leave room for a little islet, too! I set the water cubes to not have collision, also, so the player could walk around in it.
Next, I added the islet (and turned the skybox back on!), a bridge, and some trees. I even added a staple from the Kingdom Hearts series... A Paopu Fruit! (it's on the tree, of course!)
Lastly, I added a wall behind the beach to match the original version of the Destiny Islands. It really brought together the look I was going for.
And super lastly, I added exponential height fog and changed the lighting. I always liked the islands during the sunset scenes, so I tried to give it that feel. I also decided I didn't like my translucent water, so I made a new material and made it smooth and reflective, but opaque.
Here is an example of the Destiny Islands in Kingdom Hearts, both the illustration and a sunset scene:
And here are some screencaps of my final level!


Nice work! Might want to make your water a lighter color of blue to read a little better. Give more reactivity to the water!
ReplyDelete